6. Run a Jupyter notebook in a Gradient Notebook
In this section we create a Gradient Notebook with the PyTorch on IPU runtime and run the fine-tuning on a ViT Hugging Face model.
6.1. Setup
We create a Gradient notebook with the PyTorch on IPU runtime.
6.1.1. About the runtime
The PyTorch on IPU runtime uses a PyTorch-Jupyter container from the Graphcore Docker Hub, which ensures that the Poplar SDK and PyTorch for IPU libraries are pre-installed and compatible with the IPU system in Paperspace. This runtime also loads a curated repo of Jupyter notebooks, and takes care of various environment and data configurations to optimise ease of use, so you can focus on learning about IPUs and model development.
6.1.2. Create the Gradient Notebook
Follow the instructions in Section 5, Create a Gradient Notebook and select PyTorch on IPU in the Select a runtime section.
It will take a few minutes to spin up the virtual machine. Once it’s ready, navigate to the vit-model-training folder (shown on the left pane in Fig. 6.1) and open the ViT fine-tuning notebook (walkthrough.ipynb).
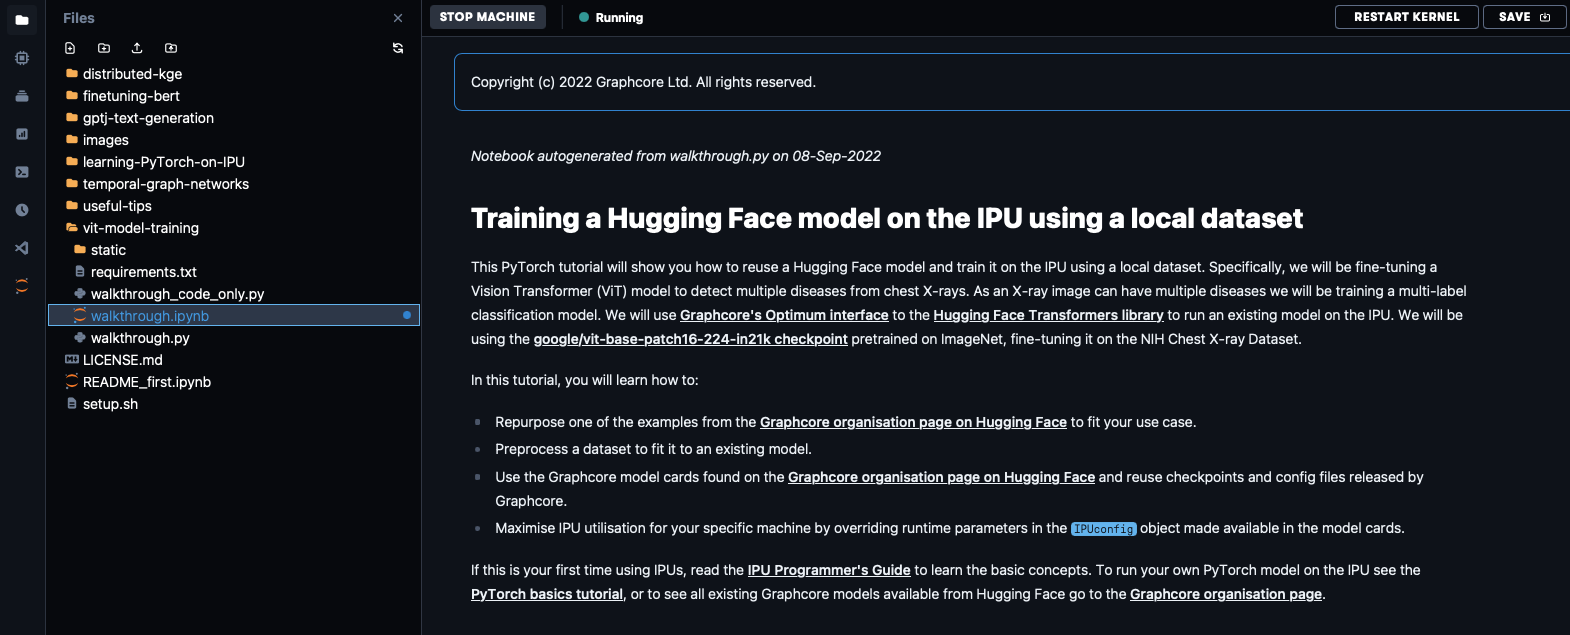
Fig. 6.1 ViT fine-tuning notebook
6.2. Running the ViT model on a medical image dataset
This is a good example of the type of workflow you’ll commonly encounter when developing your own models using IPUs and Hugging Face Optimum. For a bit more context about this specific ViT implementation (and ViT models in general), check out this deep dive on running ViT in Hugging Face Optimum Graphcore.
You can follow the notebook step-by-step as it takes you through how to pre-process a large, widely-used dataset of chest x-ray images and how to run a ViT model in Hugging Face Optimum on this dataset. We’ll cover some highlights of what you can do with this notebook. Full details are given in the notebook.
6.2.1. Training the model
To train the ViT model on the IPU we need to use the IPUTrainer class, which takes the same arguments as the original Hugging Face Transformer Trainer class, in tandem with the IPUConfig object which specifies the behaviour for compilation and execution on the IPU. Running through the notebook will include downloading IPUConfig which is made available through Graphcore/vit-base-ipu, using the pre-trained ViT checkpoints model card found in google/vit-base-patch16-224-in21k, and fine-tuning it using the chest x-ray dataset. This lets you run your training on IPUs using optimised runtime configurations.
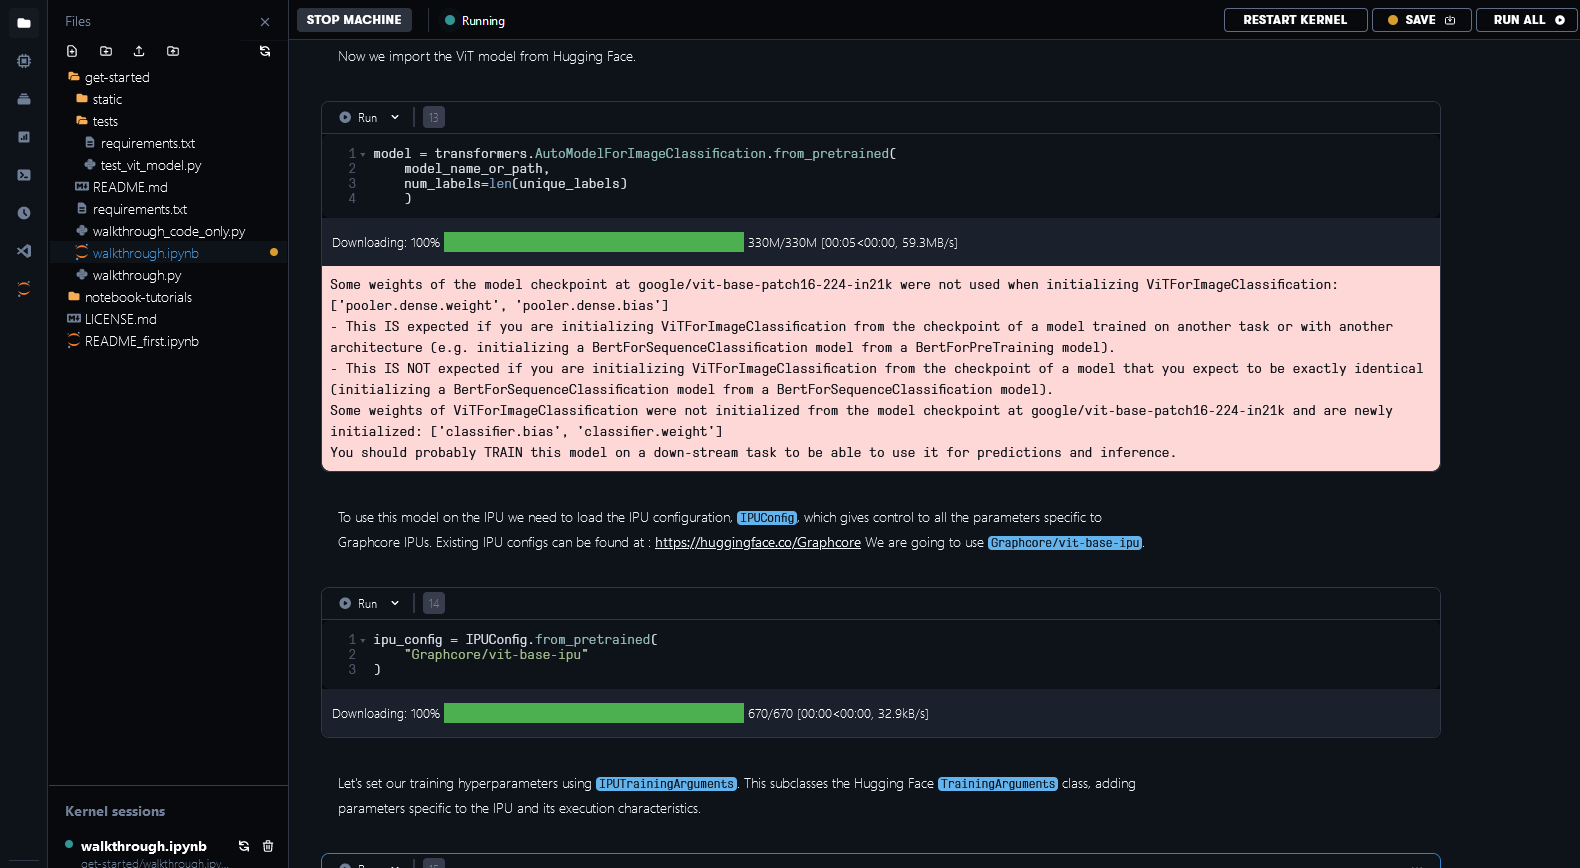
Fig. 6.2 Using weights and IPUConfig files from Hugging Face Hub
The PyTorch source code is compiled into a graph program which dictates how the program can be executed on the IPU hardware. The time to perform this compilation step depends on the model complexity.
In order to save time, a pre-compiled execution graph can be loaded so the model doesn’t need to be recompiled. You can see the documentation on pre-compilation and caching to find out how it works.
We’ve made executable files available for some of the configurations in our notebook examples in Paperspace. This step can take a few minutes without the pre-compilation files or when it’s necessary to recompile because of changes in the model.
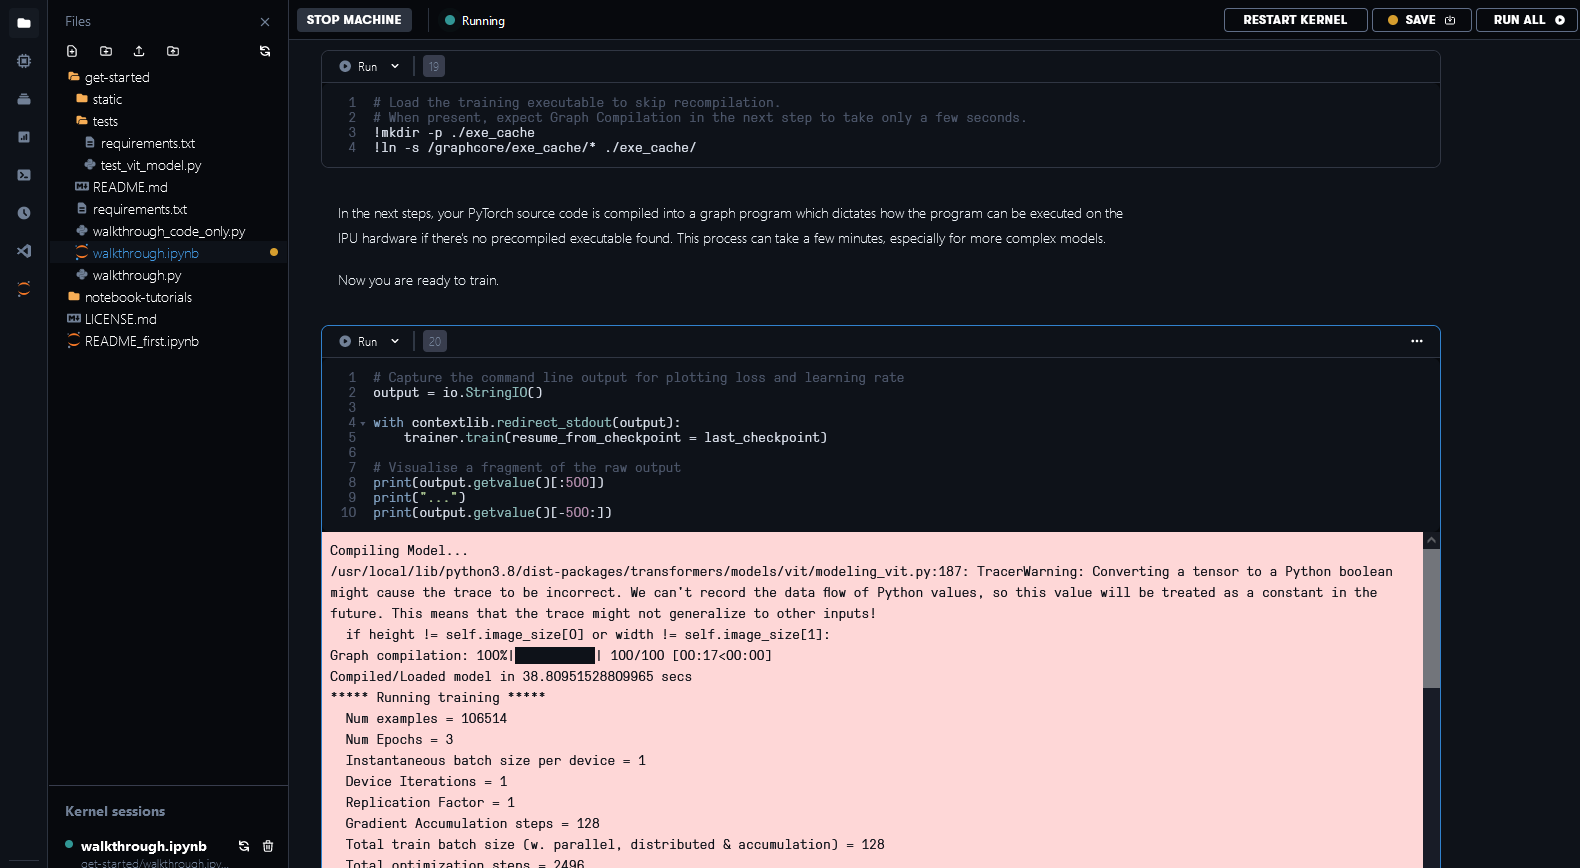
Fig. 6.3 Loading cached executable and model training
We have implemented a custom metric for the area under the ROC (receiver operating characteristic) curve (AUC_ROC). It is a commonly used performance metric for multi-label classification tasks because it is insensitive to class imbalance and easy to interpret. After completing training and evaluation, you can see in Fig. 6.4 the validation AUC_ROC score across 3 epochs to be 0.7811 for this 14-category multi-label classification task.
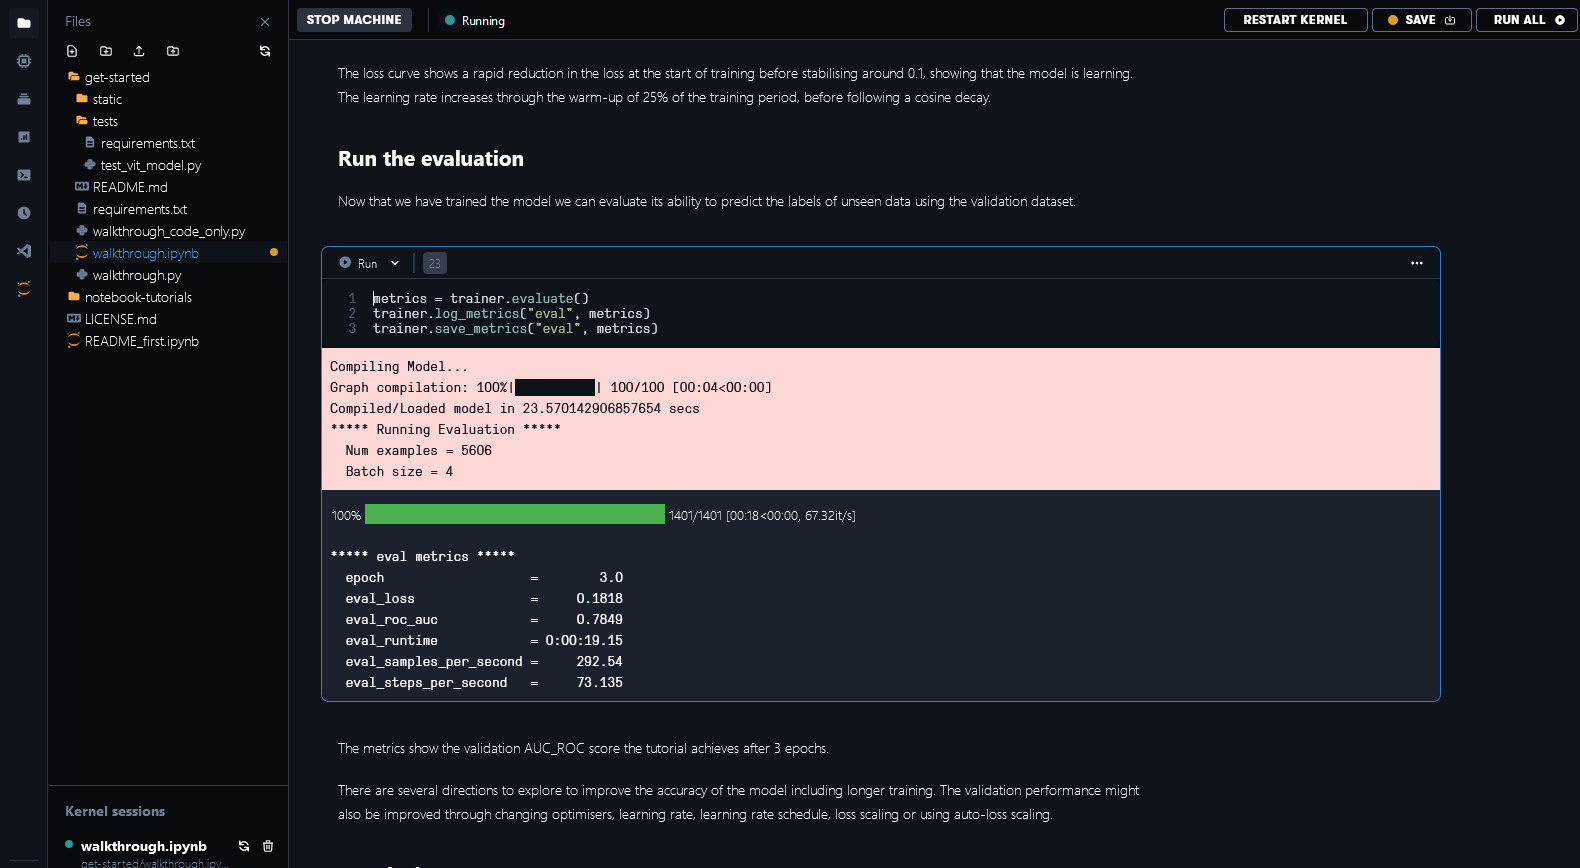
Fig. 6.4 Evaluation metrics